Berry Bliss Ice Cream: A Symphony of Summer Flavors
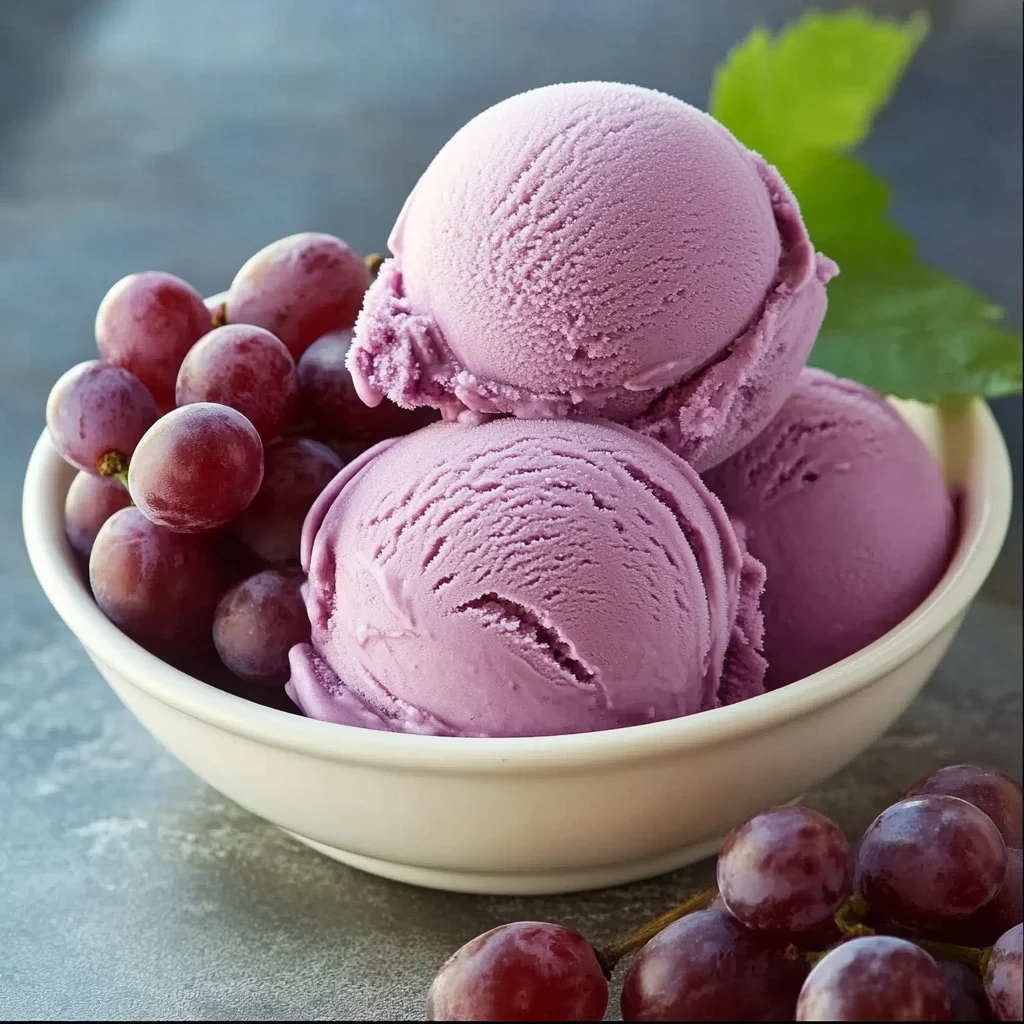
Indulge in the lusciousness of Berry Bliss Ice Cream, a homemade delight that captures the essence of summer’s most vibrant berries. This recipe, crafted with care and bursting with natural sweetness, promises a symphony of flavors with every spoonful. Whether you’re a seasoned ice cream aficionado or a novice in the kitchen, this recipe is designed to be simple, rewarding, and utterly delicious.
Why Berry Bliss Ice Cream?
Store-bought ice cream often contains artificial flavors and excessive additives. With this recipe, you have full control over the ingredients, ensuring a healthier and more flavorful treat. Berry Bliss Ice Cream is perfect for hot summer days, family gatherings, or simply as a comforting dessert. It’s also a fantastic way to use fresh berries when they’re in season, making it both sustainable and economical.
The Magic of Berries
Berries are not only delicious but also packed with antioxidants, vitamins, and fiber. This ice cream celebrates the natural goodness of berries, offering a guilt-free indulgence that’s both refreshing and nutritious. The combination of strawberries, blueberries, raspberries, and blackberries creates a complex flavor profile that’s sweet, tart, and utterly irresistible.
Ingredients:
- 2 cups mixed berries (strawberries, blueberries, raspberries, blackberries)
- 1 cup heavy cream
- 1 cup whole milk
- ¾ cup granulated sugar
- 1 tablespoon lemon juice
- 1 teaspoon vanilla extract (optional)
- Pinch of sea salt
Preparation:
Step 1: Prepare the Berry Base
Begin by rinsing the mixed berries thoroughly under cold water. Gently pat them dry with a paper towel to remove any excess moisture.
In a medium saucepan, combine the berries, granulated sugar, and lemon juice. The lemon juice helps to brighten the flavors and balance the sweetness of the berries.
Place the saucepan over medium heat and cook the berry mixture, stirring occasionally, until the berries soften and release their juices. This process usually takes about 8-10 minutes.
Once the berries have softened and the mixture has thickened slightly, remove the saucepan from the heat. Allow the mixture to cool for about 15-20 minutes.
Using an immersion blender or a regular blender, carefully blend the berry mixture until it is smooth. If using a regular blender, be cautious when blending hot liquids and ensure the lid is properly secured.
Once blended, strain the berry puree through a fine-mesh sieve to remove any seeds or skins. This step is optional but will result in a smoother ice cream texture. Discard the solids left in the sieve.
Step 2: Create the Ice Cream Base
In a large mixing bowl, whisk together the heavy cream, whole milk, and vanilla extract (if using). The vanilla extract adds a subtle depth of flavor that complements the berries beautifully.
Add the strained berry puree to the mixing bowl and whisk until well combined. Ensure that the berry puree is evenly distributed throughout the cream mixture.
Add a pinch of sea salt to enhance the flavors and balance the sweetness. Whisk until the salt is fully dissolved.
Cover the mixing bowl with plastic wrap and refrigerate the ice cream base for at least 2-4 hours, or preferably overnight. This allows the flavors to meld together and the mixture to chill thoroughly, resulting in a smoother ice cream.
Step 3: Churn the Ice Cream (Using an Ice Cream Maker)
If you have an ice cream maker, this step is straightforward. Follow the manufacturer’s instructions for your specific machine.
Pour the chilled ice cream base into the ice cream maker. Churn the mixture for approximately 20-25 minutes, or until it reaches a soft-serve consistency.
Once churned, the ice cream will be soft and creamy. For a firmer texture, transfer the ice cream to an airtight container and freeze for an additional 2-4 hours.
Step 4: No-Churn Method (Without an Ice Cream Maker)
If you don’t have an ice cream maker, don’t worry! You can still make delicious Berry Bliss Ice Cream using the no-churn method.
Pour the chilled ice cream base into a freezer-safe container. A metal loaf pan or a shallow baking dish works well.
Place the container in the freezer and freeze for 1 hour.
After 1 hour, remove the container from the freezer and use a fork or whisk to break up any ice crystals that have formed. Stir vigorously to create a smooth, creamy texture.
Return the container to the freezer and freeze for another hour.
Repeat the stirring process every 30 minutes for the next 2-3 hours, or until the ice cream reaches your desired consistency. This frequent stirring helps to prevent ice crystals from forming and ensures a smoother texture.
Step 5: Serve and Enjoy
Remove the ice cream from the freezer about 5-10 minutes before serving to allow it to soften slightly.
Scoop the Berry Bliss Ice Cream into bowls or cones.
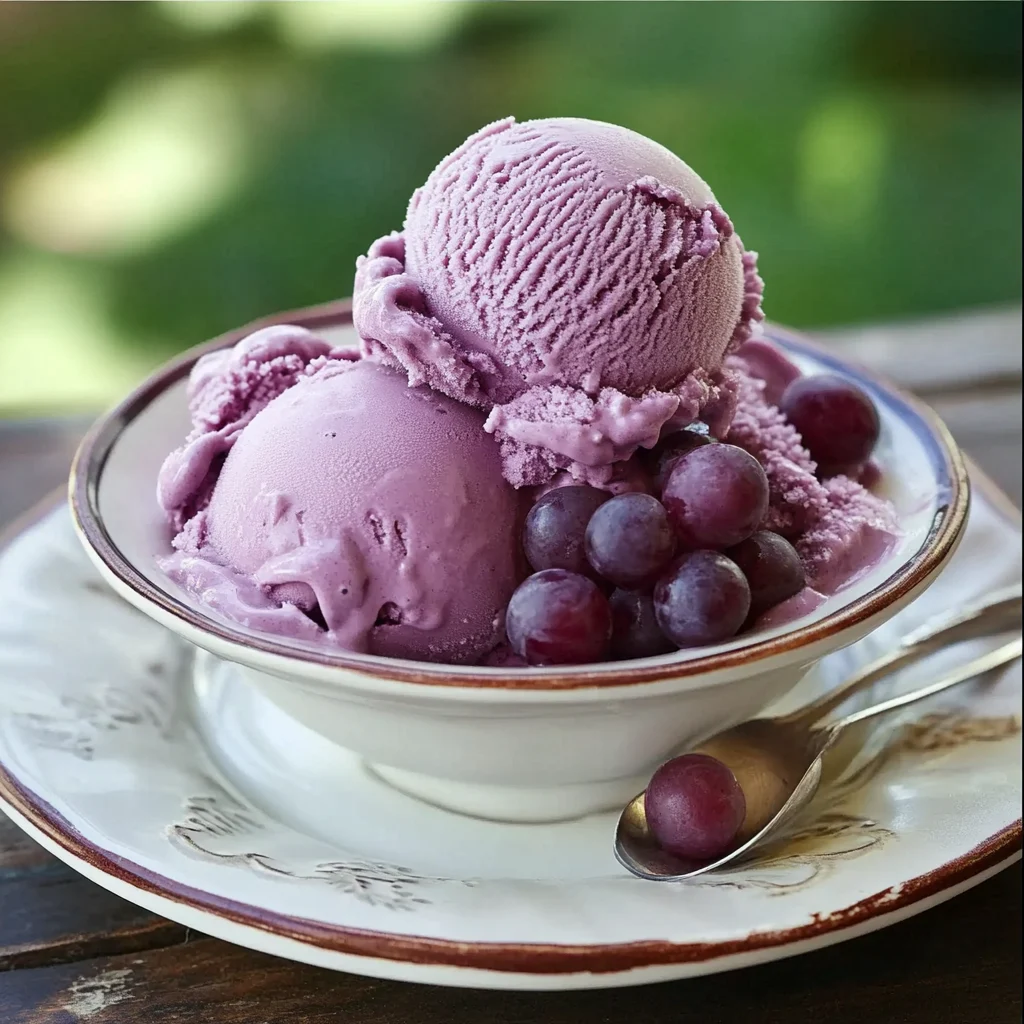
Garnish with fresh berries, a sprig of mint, or a drizzle of honey for an extra touch of elegance.
Tips and Variations:
- Use Fresh, Ripe Berries: The quality of the berries will greatly impact the flavor of the ice cream. Choose fresh, ripe berries that are in season for the best results.
- Adjust the Sweetness: Taste the berry puree before adding it to the cream mixture and adjust the amount of sugar accordingly.
- Add a Splash of Alcohol: A tablespoon of vodka or rum can help prevent the ice cream from becoming too icy. Add it to the cream mixture before churning.
- Incorporate Mix-Ins: Get creative with mix-ins! Add chopped nuts, chocolate chips, or crumbled cookies to the ice cream after churning for added texture and flavor.
- Make it Vegan: Substitute the heavy cream and whole milk with coconut cream and almond milk for a vegan version of this recipe.
- Layered Parfaits: Create stunning layered parfaits by alternating scoops of Berry Bliss Ice Cream with granola, fresh berries, and a dollop of whipped cream.
- Berry Swirl: Add a more intense berry flavor by swirling in some extra berry puree at the end of the churning process.
Serving Suggestions:
- Classic Cone: Serve the ice cream in a classic waffle cone for a nostalgic treat.
- Elegant Bowl: Present the ice cream in a delicate glass bowl, garnished with fresh berries and a sprig of mint.
- Ice Cream Sandwiches: Sandwich the ice cream between two cookies for a fun and portable dessert.
- Affogato: Pour a shot of hot espresso over a scoop of Berry Bliss Ice Cream for a delightful affogato.
- Berry Bliss Float: Top a glass of sparkling water or lemonade with a scoop of ice cream for a refreshing float.
Berry Bliss Ice Cream is more than just a dessert; it’s an experience. It’s the taste of summer captured in a spoonful, a celebration of fresh, natural ingredients, and a testament to the joy of homemade treats. So gather your berries, grab your ice cream maker (or not!), and embark on a culinary adventure that will delight your taste buds and warm your heart. Enjoy!