No-Bake Orange Creamsicle Cheesecake
Description of this Recipe
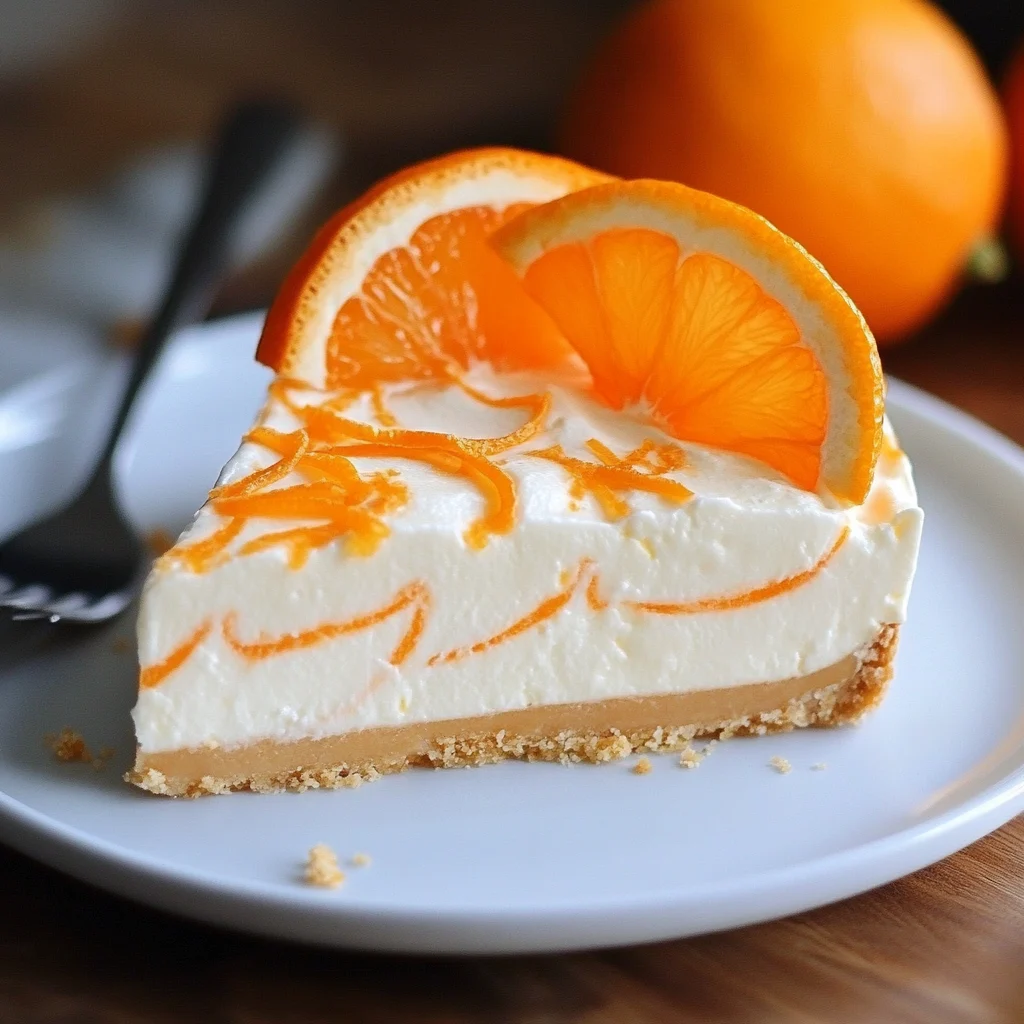
This No-Bake Orange Creamsicle Cheesecake is a delightful twist on the classic cheesecake, bringing together the creamy richness of cheesecake with the refreshing, tangy flavor of an orange creamsicle. It’s an easy-to-make dessert that requires no baking, making it perfect for warm weather or when you simply want a hassle-free treat. The combination of a buttery vanilla wafer crust, a smooth cream cheese filling, and a vibrant orange jello layer creates a harmonious blend of textures and flavors that will tantalize your taste buds.
Why You’ll Love This Recipe
This no-bake cheesecake is a winner for several reasons. First, it’s incredibly easy to make, requiring minimal effort and no oven time. Second, it’s a guaranteed crowd-pleaser with its familiar and comforting orange creamsicle flavor. The recipe is also highly adaptable, allowing you to customize it to your liking with variations in the crust, filling, or toppings. Plus, the make-ahead nature of the dessert makes it perfect for parties or gatherings, as you can prepare it well in advance and simply chill it until ready to serve.
Introduction
The inspiration behind this recipe comes from the classic orange creamsicle, a beloved summertime treat that combines the creaminess of vanilla ice cream with the zesty flavor of orange. I wanted to capture that same nostalgic feeling in a dessert that was both easy to make and visually appealing. The result is a no-bake cheesecake that layers a buttery vanilla wafer crust, a smooth cream cheese filling infused with vanilla, and a vibrant orange jello layer. Each bite offers a perfect balance of sweet, tangy, and creamy textures, making it a dessert that’s impossible to resist.
Ingredients:
- 12 oz. vanilla wafers
- 1 ½ cups granulated sugar, separated
- 4 tbsp. unsalted butter, melted (equivalent to ½ stick)
- 2 packages of cream cheese, softened to room temperature (8 oz. each)
- 2 cups heavy cream
- 1 box of orange jello (3 oz.)
- 1 cup boiling water
- ½ cup powdered sugar
- ½ tsp. vanilla extract
- Zest of one orange
Prep:
Step 1: Prepare the Vanilla Wafer Crust
In a food processor, pulse 12 ounces of vanilla wafers until they are finely crushed. If you don’t have a food processor, you can place the wafers in a resealable bag and crush them with a rolling pin. Transfer the crushed wafers to a medium-sized mixing bowl. Add ½ cup of granulated sugar and 4 tablespoons of melted unsalted butter to the bowl. Stir well until all the crumbs are moistened and the mixture resembles wet sand.
Step 2: Press the Crust into the Pan
Grease a 9-inch springform pan with cooking spray or a light coating of butter. Pour the vanilla wafer mixture into the pan and press it firmly and evenly into the bottom. You can use the bottom of a measuring cup or a spatula to help create a smooth and compact crust. Once the crust is pressed, place the pan in the freezer to chill for at least 30 minutes. This will help the crust set and prevent it from crumbling when you add the filling.
Step 3: Prepare the Orange Jello Layer
In a large bowl, dissolve one 3-ounce box of orange jello in 1 cup of boiling water. Stir the mixture continuously until all the jello crystals are completely dissolved. This ensures a smooth and clear jello layer. Let the jello mixture cool to room temperature while you prepare the cheesecake filling. It’s important that the jello is not too hot when you add it to the filling, as this could melt the cream cheese.
Step 4: Make the Cream Cheese Filling
In a large mixing bowl, beat two 8-ounce packages of softened cream cheese and 1 cup of granulated sugar together using an electric mixer. Beat on medium speed until the mixture is smooth and creamy, with no lumps. Add ½ teaspoon of vanilla extract and continue beating for another minute to incorporate the vanilla flavor. This step ensures that the cream cheese filling is perfectly smooth and evenly sweetened.
Step 5: Prepare the Whipped Cream and Assemble the Layers
In a separate mixing bowl, whip 2 cups of heavy cream to soft peaks. Gradually add ½ cup of powdered sugar while whipping, and continue whipping until the cream forms stiff peaks. Be careful not to overwhip the cream, as it can turn grainy. Divide the whipped cream into three equal portions. Gently fold one portion of the whipped cream into the cream cheese mixture. In a separate bowl, gently fold another portion of the whipped cream into the cooled orange jello mixture.
Pour half of the orange jello mixture over the chilled vanilla wafer crust, spreading it evenly. Then, pour half of the cream cheese mixture over the orange jello layer, gently swirling the two layers together. Repeat the process with the remaining orange jello mixture and cream cheese mixture, creating a layered effect.
Step 6: Chill the Cheesecake
Cover the springform pan with plastic wrap and refrigerate the cheesecake for at least 8 hours, or preferably overnight, to allow it to set completely. This chilling time is essential for the cheesecake to firm up and develop its flavors.
Step 7: Garnish and Serve
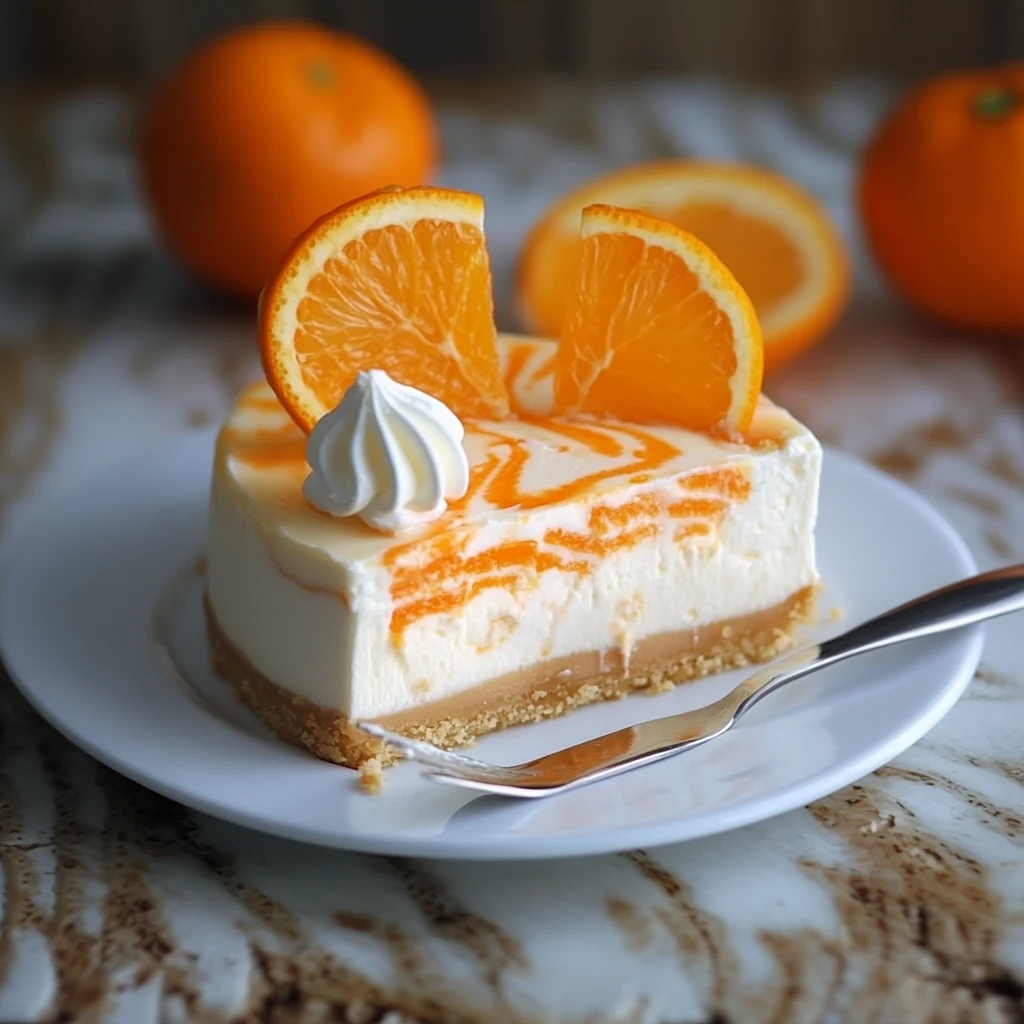
Before serving, remove the cheesecake from the refrigerator and carefully remove the sides of the springform pan. Garnish the top of the cheesecake with fresh orange zest and the remaining portion of whipped cream. You can also add orange segments or slices for an extra touch of presentation. Slice the cheesecake into wedges and serve chilled.
COOK Rating:
- Ease of Preparation: 5/5
- Taste: 5/5
- Presentation: 4/5
- Overall: 5/5
Serving Suggestions:
This No-Bake Orange Creamsicle Cheesecake is delicious on its own, but here are a few serving suggestions to elevate the experience:
- With Fresh Fruit: Serve each slice with a side of fresh berries, such as raspberries, strawberries, or blueberries, for a burst of natural sweetness and color.
- With Orange Sauce: Drizzle a homemade or store-bought orange sauce over the cheesecake for an extra layer of orange flavor.
- With Chocolate Shavings: Sprinkle dark or milk chocolate shavings over the cheesecake for a decadent twist.
- With Crushed Vanilla Wafers: Add a sprinkle of crushed vanilla wafers around the base of the cheesecake for added texture and flavor.
Tips:
- Soften the Cream Cheese: Ensure that the cream cheese is fully softened to room temperature before mixing. This will prevent lumps and ensure a smooth and creamy filling.
- Cool the Jello: Allow the orange jello mixture to cool to room temperature before adding it to the whipped cream. This will prevent the whipped cream from melting.
- Chill the Cheesecake Thoroughly: Chill the cheesecake for at least 8 hours, or preferably overnight, to allow it to set completely.
- Use a Springform Pan: A springform pan is essential for this recipe, as it allows you to easily remove the cheesecake without damaging it.
- Gentle Swirling: When layering the orange jello and cream cheese mixtures, swirl them gently to create a marbled effect without overmixing.
- Garnish Fresh: Add the orange zest and whipped cream garnish just before serving to keep it fresh and prevent it from wilting.
Prep Time:
20 minutes
Cook Time:
None
Total Time:
20 minutes (plus 8 hours chilling time)
Nutrition Information:
(Note: Nutritional information is approximate and can vary based on specific ingredients used.)
Calories: Approximately 450-500 per serving
Protein: 6-8 grams per serving
Sodium: 200-250 mg per serving
Conclusion
The No-Bake Orange Creamsicle Cheesecake is a delightful and easy-to-make dessert that captures the essence of the classic orange creamsicle in a creamy, dreamy cheesecake. With its simple ingredients, no-bake preparation, and customizable options, this recipe is perfect for any occasion, from casual gatherings to special celebrations. The combination of a buttery vanilla wafer crust, a smooth cream cheese filling, and a vibrant orange jello layer creates a symphony of flavors and textures that will leave everyone craving more. So, gather your ingredients, follow the simple steps, and prepare to indulge in a slice of creamy, citrusy heaven.
Questions and Answers:
- Can I use a different type of crust for this cheesecake?
Yes, you can definitely use a different type of crust. Graham crackers are a popular alternative to vanilla wafers. Simply crush them and combine them with melted butter and sugar as you would for the vanilla wafer crust. You could also experiment with Oreo cookies or even a shortbread crust for a unique twist. - Can I use sugar-free jello to make this recipe healthier?
Yes, you can use sugar-free orange jello to reduce the sugar content of this cheesecake. Keep in mind that sugar-free jello may have a slightly different flavor and texture than regular jello, but it will still work well in this recipe. You may also want to consider using a sugar substitute in the cream cheese filling to further reduce the sugar content. - How do I prevent the crust from sticking to the springform pan?
To prevent the crust from sticking to the springform pan, make sure to grease the pan thoroughly with cooking spray or a light coating of butter before pressing the crust into it. You can also line the bottom of the pan with parchment paper for extra insurance. Chilling the crust in the freezer for at least 30 minutes before adding the filling will also help it set and prevent it from crumbling. - Can I freeze this cheesecake for longer storage?
Yes, you can freeze this cheesecake for longer storage. To freeze it, wrap it tightly in plastic wrap and then in aluminum foil. It can be stored in the freezer for up to 2-3 months. When ready to serve, thaw it in the refrigerator overnight. Keep in mind that freezing may slightly alter the texture of the cheesecake, but it will still be delicious. - What can I do if my cream cheese filling is lumpy?
If your cream cheese filling is lumpy, it likely means that the cream cheese was not softened enough before mixing. To fix this, you can try placing the bowl of cream cheese filling over a pot of simmering water (double boiler) and stirring it gently until the lumps smooth out. Be careful not to overheat the filling, as this could melt the cream cheese. Alternatively, you can try using an immersion blender to smooth out the lumps. Just be sure not to overmix, as this could make the filling too thin.
No-Bake Orange Creamsicle Cheesecake
Ingredients
Method
- Step 1: Prepare the Vanilla Wafer Crust
- In a food processor, pulse 12 ounces of vanilla wafers until they are finely crushed. If you don’t have a food processor, you can place the wafers in a resealable bag and crush them with a rolling pin. Transfer the crushed wafers to a medium-sized mixing bowl. Add ½ cup of granulated sugar and 4 tablespoons of melted unsalted butter to the bowl. Stir well until all the crumbs are moistened and the mixture resembles wet sand.
- Step 2: Press the Crust into the Pan
- Grease a 9-inch springform pan with cooking spray or a light coating of butter. Pour the vanilla wafer mixture into the pan and press it firmly and evenly into the bottom. You can use the bottom of a measuring cup or a spatula to help create a smooth and compact crust. Once the crust is pressed, place the pan in the freezer to chill for at least 30 minutes. This will help the crust set and prevent it from crumbling when you add the filling.
- Step 3: Prepare the Orange Jello Layer
- In a large bowl, dissolve one 3-ounce box of orange jello in 1 cup of boiling water. Stir the mixture continuously until all the jello crystals are completely dissolved. This ensures a smooth and clear jello layer. Let the jello mixture cool to room temperature while you prepare the cheesecake filling. It’s important that the jello is not too hot when you add it to the filling, as this could melt the cream cheese.
- Step 4: Make the Cream Cheese Filling
- In a large mixing bowl, beat two 8-ounce packages of softened cream cheese and 1 cup of granulated sugar together using an electric mixer. Beat on medium speed until the mixture is smooth and creamy, with no lumps. Add ½ teaspoon of vanilla extract and continue beating for another minute to incorporate the vanilla flavor. This step ensures that the cream cheese filling is perfectly smooth and evenly sweetened.
- Step 5: Prepare the Whipped Cream and Assemble the Layers
- In a separate mixing bowl, whip 2 cups of heavy cream to soft peaks. Gradually add ½ cup of powdered sugar while whipping, and continue whipping until the cream forms stiff peaks. Be careful not to overwhip the cream, as it can turn grainy. Divide the whipped cream into three equal portions. Gently fold one portion of the whipped cream into the cream cheese mixture. In a separate bowl, gently fold another portion of the whipped cream into the cooled orange jello mixture.
- Pour half of the orange jello mixture over the chilled vanilla wafer crust, spreading it evenly. Then, pour half of the cream cheese mixture over the orange jello layer, gently swirling the two layers together. Repeat the process with the remaining orange jello mixture and cream cheese mixture, creating a layered effect.
- Step 6: Chill the Cheesecake
- Cover the springform pan with plastic wrap and refrigerate the cheesecake for at least 8 hours, or preferably overnight, to allow it to set completely. This chilling time is essential for the cheesecake to firm up and develop its flavors.
- Step 7: Garnish and Serve
- Before serving, remove the cheesecake from the refrigerator and carefully remove the sides of the springform pan. Garnish the top of the cheesecake with fresh orange zest and the remaining portion of whipped cream. You can also add orange segments or slices for an extra touch of presentation. Slice the cheesecake into wedges and serve chilled.