Banoffee Pie
Description of this Recipe
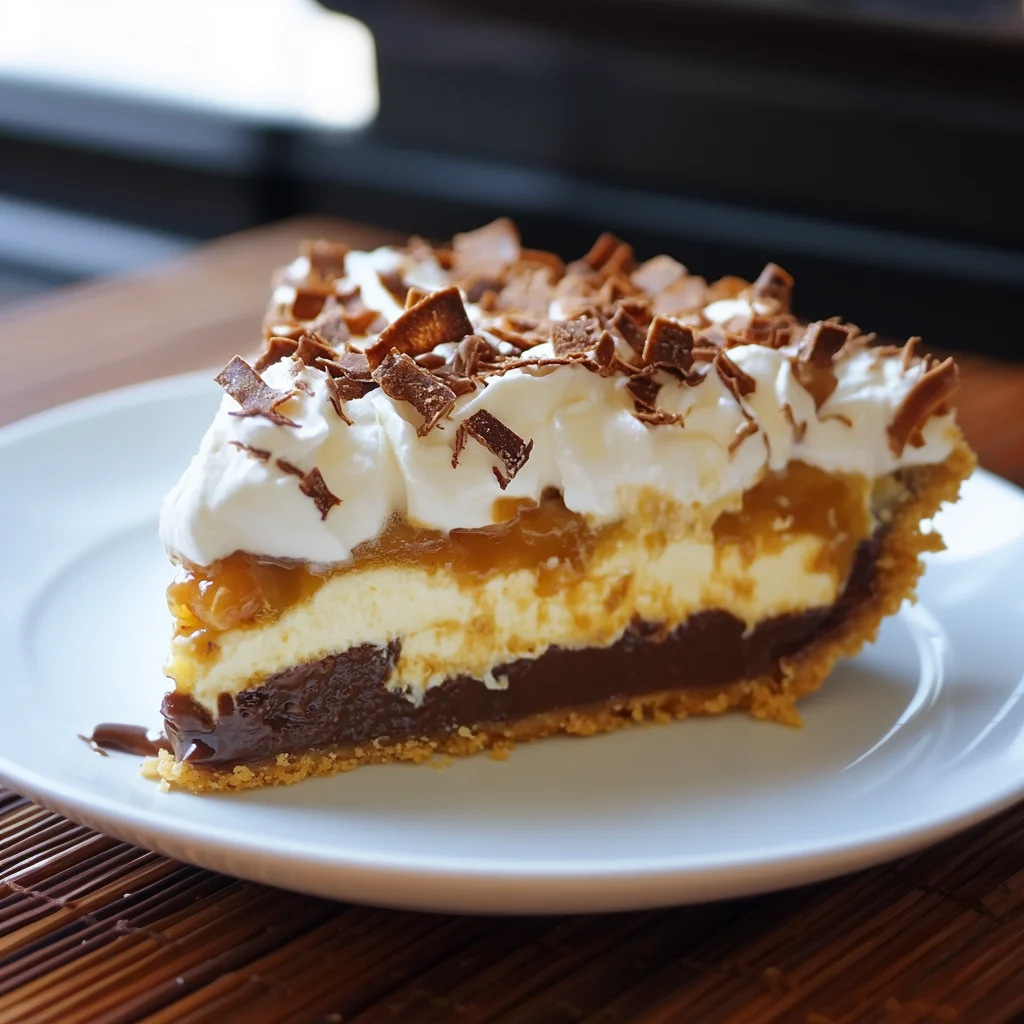
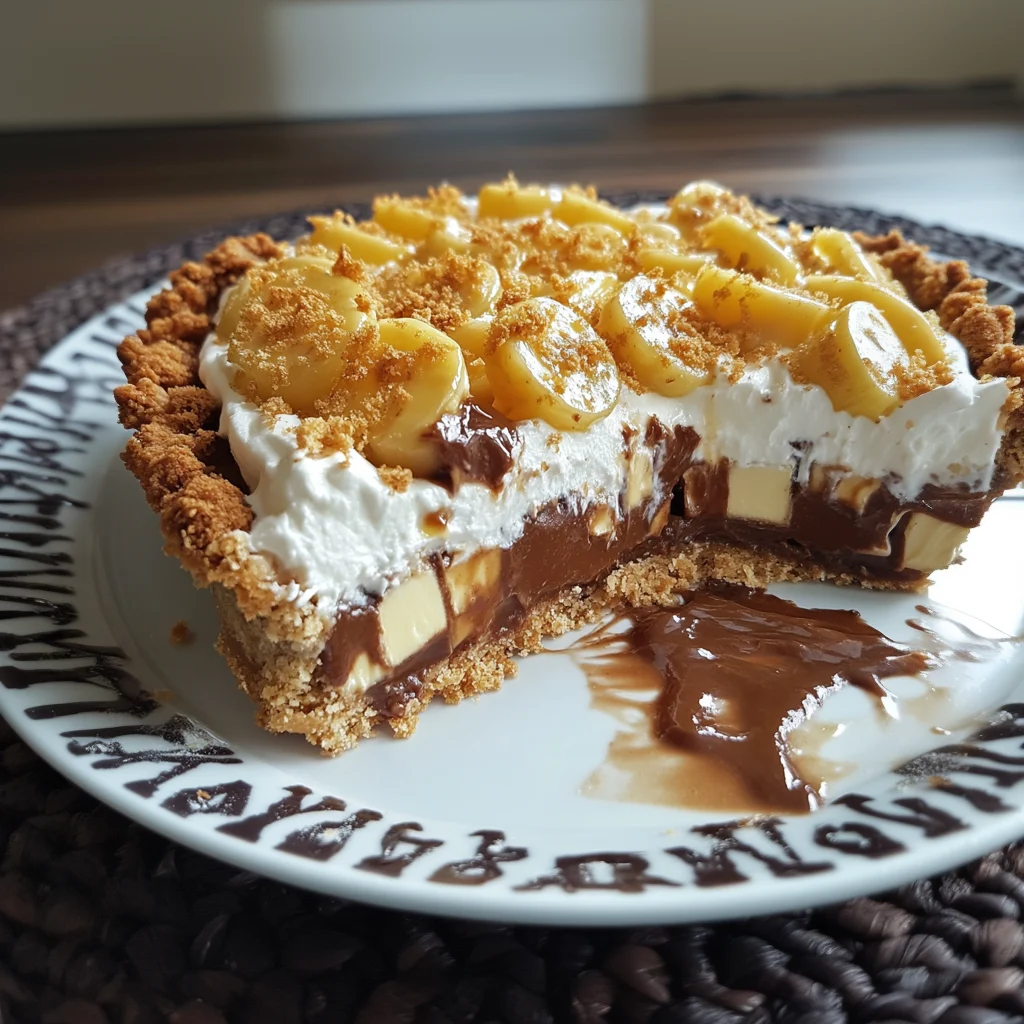
Banoffee Pie is a timeless dessert that marries the simplicity of ingredients with the complexity of flavors. It’s a delightful layering of textures and tastes, beginning with a buttery biscuit base, followed by a luscious toffee layer, fresh slices of ripe bananas, and a cloud-like whipped cream topping. This no-bake pie is as visually appealing as it is delicious, making it an excellent choice for both casual gatherings and special occasions. Whether you’re a seasoned baker or a kitchen novice, Banoffee Pie offers a straightforward recipe that guarantees a stunning and satisfying result.
Why You’ll Love This Recipe
There are countless reasons to fall in love with Banoffee Pie. First and foremost, it’s incredibly easy to make, requiring minimal baking skills and readily available ingredients. The combination of flavors is simply irresistible – the buttery crunch of the biscuit base complements the smooth, rich toffee, while the fresh bananas add a natural sweetness and creamy texture. The whipped cream topping provides a light, airy finish that perfectly balances the richness of the other layers. Additionally, Banoffee Pie is versatile; you can customize it with different types of biscuits, add a hint of sea salt to the toffee, or experiment with various toppings like chocolate shavings or a dusting of cocoa powder. This pie is a guaranteed crowd-pleaser, offering a comforting and indulgent experience that will leave everyone wanting more.
Introduction
Banoffee Pie, a portmanteau of “banana” and “toffee,” is a dessert that originated in England in the early 1970s. The story goes that the chefs at The Hungry Monk Restaurant in East Sussex were experimenting with an American recipe for Blum’s Coffee Toffee Pie when they decided to add bananas. The result was a revelation – a pie so delicious and unique that it quickly became a signature dish and a beloved classic.
The charm of Banoffee Pie lies in its simplicity and the harmonious blend of flavors and textures. It’s a dessert that evokes feelings of comfort and nostalgia, often associated with home-baked goodness and shared moments of joy. The buttery biscuit base provides a sturdy foundation for the creamy toffee and soft bananas, while the whipped cream adds a touch of elegance and lightness. The beauty of this recipe is that it doesn’t require extensive baking skills or fancy equipment; with just a few simple steps, you can create a show-stopping dessert that will impress your friends and family.
From its humble beginnings in a small English restaurant to its current status as a globally recognized dessert, Banoffee Pie has captured the hearts (and taste buds) of people around the world. Its enduring popularity is a testament to its deliciousness and ease of preparation. Whether you’re looking for a quick and easy dessert for a weeknight treat or a show-stopping centerpiece for a weekend gathering, Banoffee Pie is a perfect choice.
Ingredients:
For the Crust:
- 250g digestive biscuits (or graham crackers)
- 100g unsalted butter, melted
For the Toffee Filling:
- 1 can (397g) sweetened condensed milk
For the Banana Layer:
- 3 medium ripe bananas
For the Whipped Cream Topping:
- 300ml heavy cream (at least 35% fat)
- 2 tablespoons powdered sugar (optional)
- 1 teaspoon vanilla extract (optional)
For Decoration (Optional):
- 50g dark chocolate, shaved or grated
- Cocoa powder, for dusting
Prep:
Step 1: Prepare the Biscuit Base:
Begin by crushing the digestive biscuits (or graham crackers) into fine crumbs. You can use a food processor for this, pulsing until the biscuits are uniformly crushed. Alternatively, place the biscuits in a resealable bag and crush them with a rolling pin until you achieve a fine crumb consistency.
Step 2: Mix the Crust Ingredients:
In a medium-sized bowl, combine the biscuit crumbs with the melted unsalted butter. Mix well until the crumbs are evenly coated with the butter and the mixture resembles wet sand. This step is crucial for ensuring that the crust holds together properly.
Step 3: Press the Crust into the Pie Dish:
Transfer the biscuit mixture to a 9-inch pie dish or tart pan. Use the back of a spoon or your fingers to press the mixture firmly and evenly across the bottom and up the sides of the dish. Ensure that the crust is compact and uniform in thickness to prevent it from crumbling.
Step 4: Chill the Crust:
Place the pie dish in the refrigerator and chill for at least 30 minutes. This allows the butter to solidify, helping the crust to set and maintain its shape. For an even firmer crust, you can chill it for up to an hour.
Step 5: Prepare the Toffee (Dulce de Leche):
There are two methods to prepare the toffee filling. The traditional method involves boiling a can of sweetened condensed milk.
Submerged Can Method: Remove the label from the can of sweetened condensed milk. Place the can in a large pot and cover it completely with water. Ensure the water level remains above the can throughout the cooking process to prevent it from exploding. Bring the water to a gentle simmer, then reduce the heat and continue to simmer for 2-3 hours. The longer it simmers, the thicker and darker the toffee will become.
Once cooked, carefully remove the can from the pot and allow it to cool completely before opening.
Alternate Method:
Pour the sweetened condensed milk into a saucepan and bring to a simmer over medium heat. Reduce the heat to low and cook, stirring constantly, until the mixture thickens and turns a caramel color, about 20-30 minutes. Be careful not to burn the mixture.
COOK Rating:
- COOK: 4.9
Serving Suggestions:
Banoffee Pie is a versatile dessert that can be served in various ways, depending on the occasion and your personal preferences. Here are a few serving suggestions to enhance your Banoffee Pie experience:
Classic Slice: The most straightforward way to serve Banoffee Pie is to slice it into wedges and serve it chilled. Each slice provides a perfect balance of the crust, toffee, bananas, and whipped cream.
With a Dollop of Cream: For an extra indulgent treat, add a dollop of freshly whipped cream on top of each slice just before serving. This enhances the creamy texture and adds a touch of elegance.
Drizzled with Chocolate Sauce: Drizzle warm chocolate sauce over the pie slices for a richer, more decadent dessert. The combination of chocolate and banana is always a winner.
Garnished with Nuts: Sprinkle chopped nuts, such as walnuts, pecans, or almonds, over the whipped cream topping for added crunch and flavor.
Alongside Fresh Berries: Serve Banoffee Pie with a side of fresh berries, such as strawberries, raspberries, or blueberries. The tartness of the berries complements the sweetness of the pie beautifully.
As a Dessert Shooter: For a fun and creative presentation, layer the components of Banoffee Pie in small dessert glasses or shot glasses. This is a great option for parties or gatherings where you want to offer individual portions.
With Coffee or Tea: Banoffee Pie is an excellent accompaniment to a cup of coffee or tea. The sweetness of the pie pairs perfectly with the slight bitterness of the beverage.
Tips:
To ensure your Banoffee Pie turns out perfectly every time, here are some essential tips:
Crust Perfection:
- Use high-quality digestive biscuits or graham crackers for the crust. The flavor and texture of the biscuits significantly impact the overall taste of the pie.
- Ensure the biscuit crumbs are finely crushed to create a smooth and compact crust.
- Press the crust firmly into the pie dish to prevent it from crumbling.
- Chill the crust for at least 30 minutes to allow the butter to solidify, ensuring a firm base.
Toffee Triumph:
- When boiling the can of sweetened condensed milk, ensure it is completely submerged in water throughout the cooking process to prevent it from exploding.
- Allow the can to cool completely before opening to avoid any accidents from hot toffee splattering.
- For a richer toffee flavor, add a pinch of sea salt to the toffee after cooking.
- If the toffee is too thick, add a tablespoon of milk or cream to thin it out slightly.
Banana Bliss:
- Use ripe but firm bananas to prevent them from becoming mushy.
- Slice the bananas just before assembling the pie to prevent them from browning.
- Arrange the banana slices evenly over the toffee layer for a consistent flavor in every bite.
Whipped Cream Wonder:
- Use heavy cream with at least 35% fat for the best whipped cream texture.
- Chill the bowl and beaters before whipping the cream to help it whip up faster and hold its shape better.
- Add powdered sugar and vanilla extract to the cream for added sweetness and flavor, but be careful not to over-whip it.
- Spread the whipped cream evenly over the banana layer, creating a smooth and appealing finish.
Prep Time: 30 minutes
Cook Time: 2-3 hours (for toffee)
Total Time: 3 hours
Nutrition Information:
Calories: Approximately 450-500 calories per slice (depending on portion size and ingredients used)
Protein: 5-7g per slice
Sodium: 200-250mg per slice
Conclusion
Banoffee Pie is more than just a dessert; it’s an experience. From the satisfying crunch of the biscuit base to the creamy sweetness of the toffee and bananas, every layer offers a unique and delightful sensation. This no-bake pie is not only easy to make but also incredibly versatile, allowing you to customize it with your favorite toppings and flavors.
Whether you’re a seasoned baker or a novice in the kitchen, Banoffee Pie is a recipe that anyone can master. Its simplicity and guaranteed deliciousness make it a perfect choice for any occasion, from casual family gatherings to elegant dinner parties. So, gather your ingredients, follow the steps, and prepare to indulge in the timeless delight of Banoffee Pie. It’s a dessert that promises to bring smiles and sweet memories with every bite.
Write 5 questions and answers about this recipe.
Question 1: Can I make Banoffee Pie ahead of time?
Answer: Absolutely! Banoffee Pie is an excellent make-ahead dessert. You can assemble the entire pie and store it in the refrigerator for up to 24 hours before serving. This allows the flavors to meld together, enhancing the overall taste. However, it’s best to add the banana slices and whipped cream topping shortly before serving to prevent the bananas from browning and the cream from deflating.
Question 2: What can I use instead of digestive biscuits for the crust?
Answer: If you can’t find digestive biscuits, graham crackers make an excellent substitute. You can also use other types of crisp cookies, such as shortbread or even crushed Oreo cookies (without the filling) for a chocolatey twist. Just make sure to adjust the amount of butter accordingly to achieve the right consistency for the crust.
Question 3: Is there a quicker way to make the toffee filling?
Answer: Yes, if you’re short on time, you can use store-bought caramel sauce or dulce de leche as a shortcut. Look for a high-quality caramel sauce that is thick and creamy. Alternatively, you can make a quick toffee by melting butter and brown sugar together in a saucepan until it forms a smooth caramel. Be sure to let it cool slightly before pouring it over the crust.
Question 4: Can I freeze Banoffee Pie?
Answer: While it’s not recommended to freeze the entire assembled pie, you can freeze the biscuit base and toffee layer separately. Prepare the biscuit base as directed and freeze it in the pie dish. You can also freeze the toffee filling in an airtight container. When ready to assemble, thaw the base and toffee, then proceed with adding the bananas and whipped cream. Freezing the assembled pie can affect the texture of the bananas and whipped cream.
Question 5: How do I prevent the bananas from browning?
Answer: To prevent the banana slices from browning, you can toss them with a little lemon juice or lime juice before arranging them on the toffee layer. The acidity in the citrus juice helps to slow down oxidation. Additionally, make sure to slice the bananas just before assembling the pie and cover them completely with the whipped cream to minimize exposure to air.
Banoffee Pie
Ingredients
Method
- Step 1: Prepare the Biscuit Base:
- Begin by crushing the digestive biscuits (or graham crackers) into fine crumbs. You can use a food processor for this, pulsing until the biscuits are uniformly crushed. Alternatively, place the biscuits in a resealable bag and crush them with a rolling pin until you achieve a fine crumb consistency.
- Step 2: Mix the Crust Ingredients:
- In a medium-sized bowl, combine the biscuit crumbs with the melted unsalted butter. Mix well until the crumbs are evenly coated with the butter and the mixture resembles wet sand. This step is crucial for ensuring that the crust holds together properly.
- Step 3: Press the Crust into the Pie Dish:
- Transfer the biscuit mixture to a 9-inch pie dish or tart pan. Use the back of a spoon or your fingers to press the mixture firmly and evenly across the bottom and up the sides of the dish. Ensure that the crust is compact and uniform in thickness to prevent it from crumbling.
- Step 4: Chill the Crust:
- Place the pie dish in the refrigerator and chill for at least 30 minutes. This allows the butter to solidify, helping the crust to set and maintain its shape. For an even firmer crust, you can chill it for up to an hour.
- Step 5: Prepare the Toffee (Dulce de Leche):
- There are two methods to prepare the toffee filling. The traditional method involves boiling a can of sweetened condensed milk.
- Submerged Can Method: Remove the label from the can of sweetened condensed milk. Place the can in a large pot and cover it completely with water. Ensure the water level remains above the can throughout the cooking process to prevent it from exploding. Bring the water to a gentle simmer, then reduce the heat and continue to simmer for 2-3 hours. The longer it simmers, the thicker and darker the toffee will become.
- Once cooked, carefully remove the can from the pot and allow it to cool completely before opening.
- Alternate Method:
- Pour the sweetened condensed milk into a saucepan and bring to a simmer over medium heat. Reduce the heat to low and cook, stirring constantly, until the mixture thickens and turns a caramel color, about 20-30 minutes. Be careful not to burn the mixture.