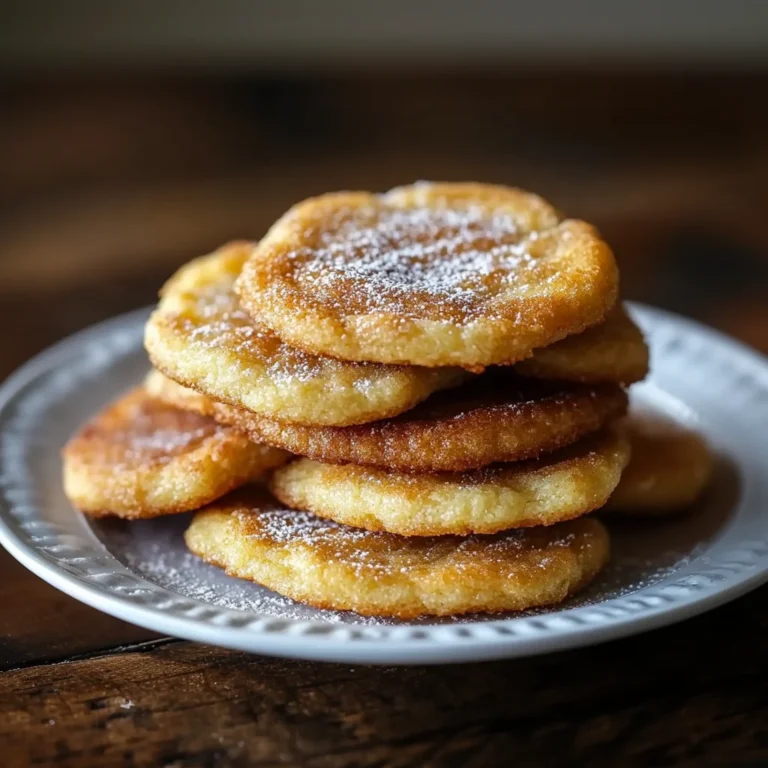
Pastel Sugar Cookie Sandwiches

Ingredients:
- 2 3/4 cups all-purpose flour
- 1 teaspoon baking soda
- 1⁄2 teaspoon salt
- 1 cup unsalted butter, softened
- 1 1/2 cups granulated sugar
- 1 large egg
- 1 tablespoon vanilla extract
- 1⁄2 teaspoon almond extract
- 1⁄4 cup milk
- 1⁄2 cup colored sugar (for rolling)
- 1 batch frosting (store-bought or homemade)

Preparation:
This recipe brings a delightful twist to the classic sugar cookie, transforming it into a charming sandwich filled with creamy frosting and coated in vibrant pastel sugar. These Pastel Sugar Cookie Sandwiches are perfect for celebrations, afternoon tea, or simply as a sweet treat to brighten your day. The combination of buttery, soft cookies with a luscious frosting center and a colorful, sugary exterior makes them irresistible. Let’s dive into the step-by-step process of creating these delightful confections.
Step 1: Prepare Your Equipment and Preheat the Oven
Begin by gathering all your ingredients and equipment. You’ll need measuring cups and spoons, mixing bowls, an electric mixer, a whisk, a spatula, parchment paper, and baking sheets. Preheat your oven to 350°F (175°C). Ensuring your oven is properly preheated is crucial for achieving evenly baked cookies. Line two baking sheets with parchment paper. This prevents the cookies from sticking and makes for easy cleanup.
Step 2: Combine Dry Ingredients
In a medium bowl, whisk together the all-purpose flour, baking soda, and salt. Whisking ensures that the baking soda and salt are evenly distributed throughout the flour, which is essential for the cookies to rise properly and have a consistent texture. Set the bowl aside for later.
Step 3: Cream Butter and Sugar
In a large bowl, cream together the softened butter and granulated sugar using an electric mixer on medium speed. Beat until the mixture is light and fluffy, about 3-4 minutes. This process incorporates air into the butter and sugar, which contributes to the cookies’ tender texture. Make sure the butter is softened but not melted; it should be pliable enough to cream smoothly with the sugar.
Step 4: Add Egg and Extracts
Add the large egg, vanilla extract, and almond extract to the butter and sugar mixture. Beat until fully combined, scraping down the sides of the bowl as needed. The egg adds richness and helps bind the ingredients, while the vanilla and almond extracts enhance the flavor profile of the cookies. Scraping down the sides of the bowl ensures that all ingredients are thoroughly incorporated.
Step 5: Gradually Incorporate Dry Ingredients
Gradually add the dry ingredients to the wet ingredients, mixing on low speed until just combined. Be careful not to overmix. Overmixing can develop the gluten in the flour, resulting in tough cookies. Mix until the flour is just incorporated, and no streaks remain.
Step 6: Add Milk
Add the milk to the dough and mix until smooth. The dough should be soft but not sticky. Milk adds moisture to the dough, which helps create a soft and tender cookie. If the dough seems too dry, add an additional teaspoon of milk at a time until it reaches the desired consistency.
Step 7: Prepare Colored Sugar
Pour the colored sugar into a shallow bowl. Using a tablespoon or a small cookie scoop, scoop out dough and roll it into balls, about 1 inch in diameter. Rolling the dough into uniform balls ensures that the cookies bake evenly. A cookie scoop helps to create consistent sizes, which is especially important for sandwich cookies.
Step 8: Coat Dough Balls in Colored Sugar
Roll each dough ball in the colored sugar until completely coated. The colored sugar adds a festive touch and a delightful crunch to the cookies. Ensure that each ball is evenly coated for a consistent appearance and texture.
Step 9: Arrange Dough Balls on Baking Sheets
Place the sugar-coated dough balls onto the prepared baking sheets, spacing them about 2 inches apart. This spacing allows the cookies to spread slightly during baking without sticking together.
Step 10: Flatten Dough Balls
Flatten each dough ball slightly with the bottom of a glass or your fingers, pressing gently to form discs. This helps the cookies bake evenly and creates a flat surface for sandwiching the frosting.
Step 11: Bake the Cookies
Bake the cookies in the preheated oven for 8-10 minutes, or until the edges are lightly golden but the centers are still soft. Baking time may vary depending on your oven, so keep a close eye on the cookies. The centers should be set but still soft to the touch.
Step 12: Cool the Cookies
Allow the cookies to cool on the baking sheets for 5 minutes before transferring them to wire racks to cool completely. This prevents the cookies from breaking apart while they are still warm and delicate.
Step 13: Prepare Frosting
While the cookies are cooling, prepare your frosting. Whether you choose store-bought or homemade frosting, ensure it is smooth and creamy. If using store-bought frosting, you can whip it with an electric mixer to make it lighter and fluffier.
Step 14: Assemble the Sandwiches
Once the cookies have cooled, spread frosting onto the flat side of one cookie. Top the frosted cookie with another cookie, pressing them together gently to form a sandwich. The amount of frosting you use is a matter of personal preference; some prefer a thick layer, while others prefer a thinner spread.
Step 15: Repeat and Serve
Repeat this process with the remaining cookies and frosting. Serve the pastel sugar cookie sandwiches immediately, or store them in an airtight container at room temperature for up to 3 days. These cookies are best enjoyed fresh, but they can be stored for a few days if properly sealed.
Enjoy these charming and delicious Pastel Sugar Cookie Sandwiches! They are sure to be a hit at any gathering and a delightful treat for any occasion.


